Once your Android application is developed successfully, you need to develop its APK file. Also, you can use APK files for testing purposes as well.
A signed APK generates a key that can be used in the release version of the application.
The next version needs to upload an application on the Play Store otherwise you can not upload an APK in the Play Store. It’s necessary to go to the Play Store.
After developing and testing the application, you need to create a signed application or bundle. Developers can apply for self-signed certificates in the application.
There are two types of APK
- Debug APK files.
- Signed APK files.
Following are the steps to generate a signed app in Android Studio:
Step 1: Click on the build menu on Android Studio and click on Generate signed bundle/APK.

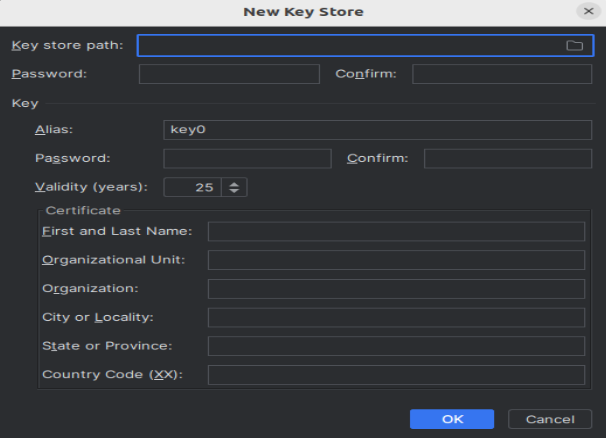
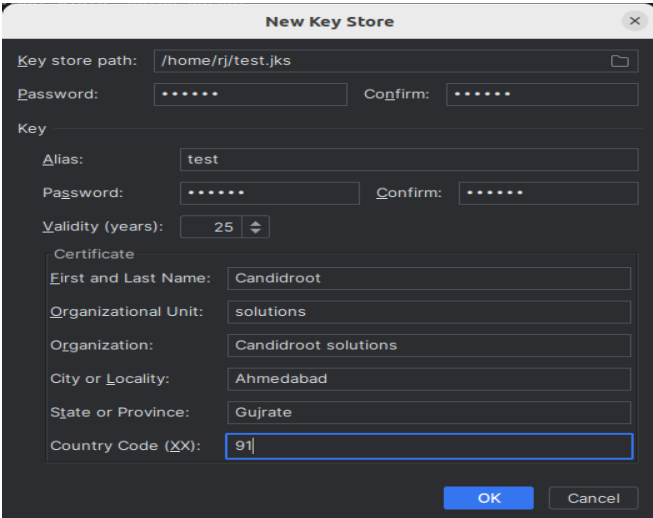
Step 2: Below dialog you have already created a signed APK then fill in the information otherwise click on the Create new button.

Step 3: Select the folder that contains the path of the key store and fill in other fields like Password, confirm, alias, etc.
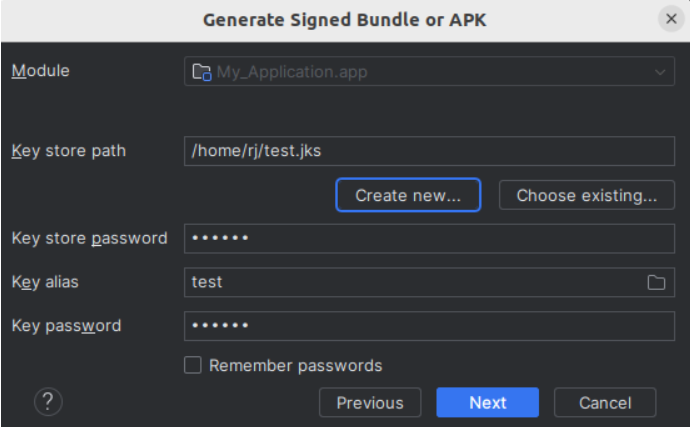
Step 4: Click on the ok button then open the below dialog and press the next button.
Step 5: Below dialog select release or debug type and press create.

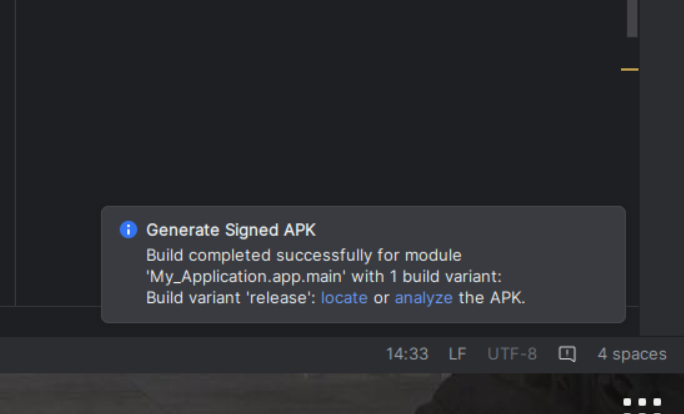
Step 6: After signing APK, create and click to locate.![]()
In conclusion, now you know how to generate APK files and use signed APK files in your application. We hope this blog will help you clear your thoughts and start working on Android application development.