Android RecyclerView in Kotlin

In this post, you'll learn how to use Kotlin to implement RecyclerView on Android. Before we go any further, tell us about RecyclerView. A RecyclerView is a more advanced version of the ListView that has better performance. When you have a large number of objects to display, you can utilise RecyclerView. It can reuse its views.

In this article, you will learn how to create your RecyclerView Example of RecyclerView​ in Android. So let’s take example of RecyclerView  activity codes  in Android of Mobile application.  

 Example of RecyclerView 


Step-by-Step Im​plementation

​Step 1: Create a New Project in Android ​studio (File >new  project).  


Step 2: Create an activity_main.xml file in your layout folder . path (res>layout)

Implement the same in​voke the following code inside activity_main.xml file.

 <?xml version="1.0" encoding="utf-8"?>
<androidx.constraintlayout.widget.ConstraintLayout xmlns:android="http://schemas.android.com/apk/res/android"
xmlns:app="http://schemas.android.com/apk/res-auto"
xmlns:tools="http://schemas.android.com/tools"
android:layout_width="match_parent"
android:layout_height="match_parent"
android:orientation="vertical"
tools:context=".MainActivity"
tools:ignore="HardcodedText">
<androidx.appcompat.widget.AppCompatButton

<androidx.recyclerview.widget.RecyclerView
android:layout_width="match_parent"
android:layout_height="match_parent"
android:scrollbars="vertical"
android:id="@+id/recyclerView"
tools:context="example.javatpoint.com.recyclerviewlist.MainActivity"/>

</androidx.constraintlayout.widget.ConstraintLayout>
Step 3: Create an customAdapter.kt file in your package folder .

Implement the same invoke the fol​low​ing code inside customAdapter.kt file.

 import android.annotation.SuppressLint
import android.view.LayoutInflater
import android.view.View
import android.view.ViewGroup
import android.widget.ImageView
import android.widget.TextView
import androidx.recyclerview.widget.RecyclerView

class CustomAdapter(private val mList: List<ItemsViewModel>) :
RecyclerView.Adapter<CustomAdapter.ViewHolder>() {
private var lastCheckedPosition = -1
override fun onCreateViewHolder(parent: ViewGroup, viewType: Int): ViewHolder {
val view = LayoutInflater.from(parent.context)
.inflate(R.layout.list_item, parent, false)
return ViewHolder(view)
}

override fun onBindViewHolder(holder: ViewHolder, @SuppressLint("RecyclerView") position: Int) {
holder.imageView.setImageResource(ItemsViewModel.image)
holder.textView.text = ItemsViewModel.text
}

override fun getItemCount(): Int {
return mList.size
}

class ViewHolder(ItemView: View) : RecyclerView.ViewHolder(ItemView) {
val imageView: ImageView = itemView.findViewById(R.id.imgflag)
val textView: TextView = itemView.findViewById(R.id.txtTitle)
val imgeenglish: ImageView = itemView.findViewById(R.id.imgeenglish)
}
}
Step 4: Create an ItemsViewModel.kt file in your package folder .

Implement the same invoke the fol​low​ing code inside ItemsViewModel.kt file.

 data class ItemsViewModel(val image: Int, val text: String, var ischeck:Boolean)
Step 5: Create an MainActivity.kt file in your package folder .

Implement the same invoke the fol​low​ing code inside MainActivity.kt file.

 import android.annotation.SuppressLint
import android.os.Bundle
import android.view.View
import androidx.appcompat.app.AppCompatActivity
import androidx.appcompat.widget.AppCompatButton
import androidx.recyclerview.widget.LinearLayoutManager
import androidx.recyclerview.widget.RecyclerView

class MainActivity : AppCompatActivity() {
@SuppressLint("MissingInflatedId")
override fun onCreate(savedInstanceState: Bundle?) {
super.onCreate(savedInstanceState)
setContentView(R.layout.activity_main)
val btnopen = findViewById<View>(R.id.btnopen) as AppCompatButton
btnopen.setOnClickListener {

}
val recyclerview = findViewById<RecyclerView>(R.id.recyclerView)
recyclerview.layoutManager = LinearLayoutManager(this)
val data = ArrayList<ItemsViewModel>()
for (i in 1..20) {
data.add(ItemsViewModel(R.drawable.next, "Item $i", false))
}
val adapter = CustomAdapter(data)
recyclerview.adapter = adapter
}

}

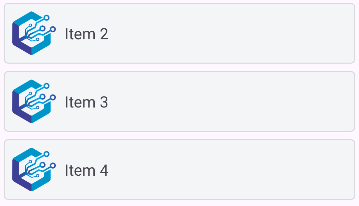
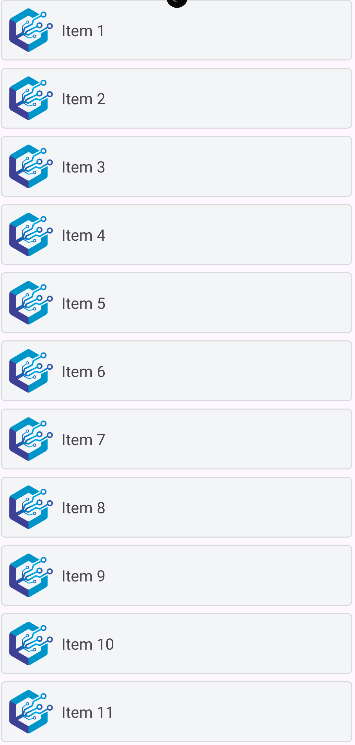
Step 6 : Output of above example.


Happy coding!

365Bloggy July 23, 2024
Share this post
Tags
SUBSCRIBE THIS FORM


Archive