To improve the animation appearance of an ImageView, Button, or View, apply the Shine Effect. The implementation is quite simple. For an understanding of what we will be doing in this article, please refer to the example GIF provided below. Keep in mind that Kotlin will be used to implement this project.
In this article, you will learn how to create your shine effect Example of shine effect in Android. So let’s take example of shine effect in Android of Mobile application.
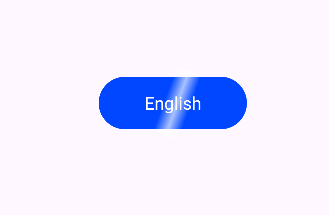
Example of shine effect

Step-by-Step Implementation
Step 1: Create a New Project in Android studio (File >new project).

Step 2: Create an main_activity.xml file in your layout folder . path (res>layout)
Implement the same invoke the following code inside main_activity.xml file.
Step 3: Create an MainActivity.kt file in your layout folder
Implement the same invoke the following code inside MainActivity.kt file.
Step 4 : Output of the above example.
Happy coding!