Firebase Authentication with Phone Number OTP in Android

Many applications require authentication at times of using OTP Authentication, to authenticate the app user’s phone number. Through phone authentication, the user has to identify the phone number of mobile application .

User will receive a verification code on his mobile phone or email account. There are many ways to get OTP on mobile phones but we will explore Firebase authentication in this blog. 

Here are the Step by Step implementation process of Firebase authentication:

We will create a simple application that sends OTP particular numbers with a country code and get or set it in Textview. 

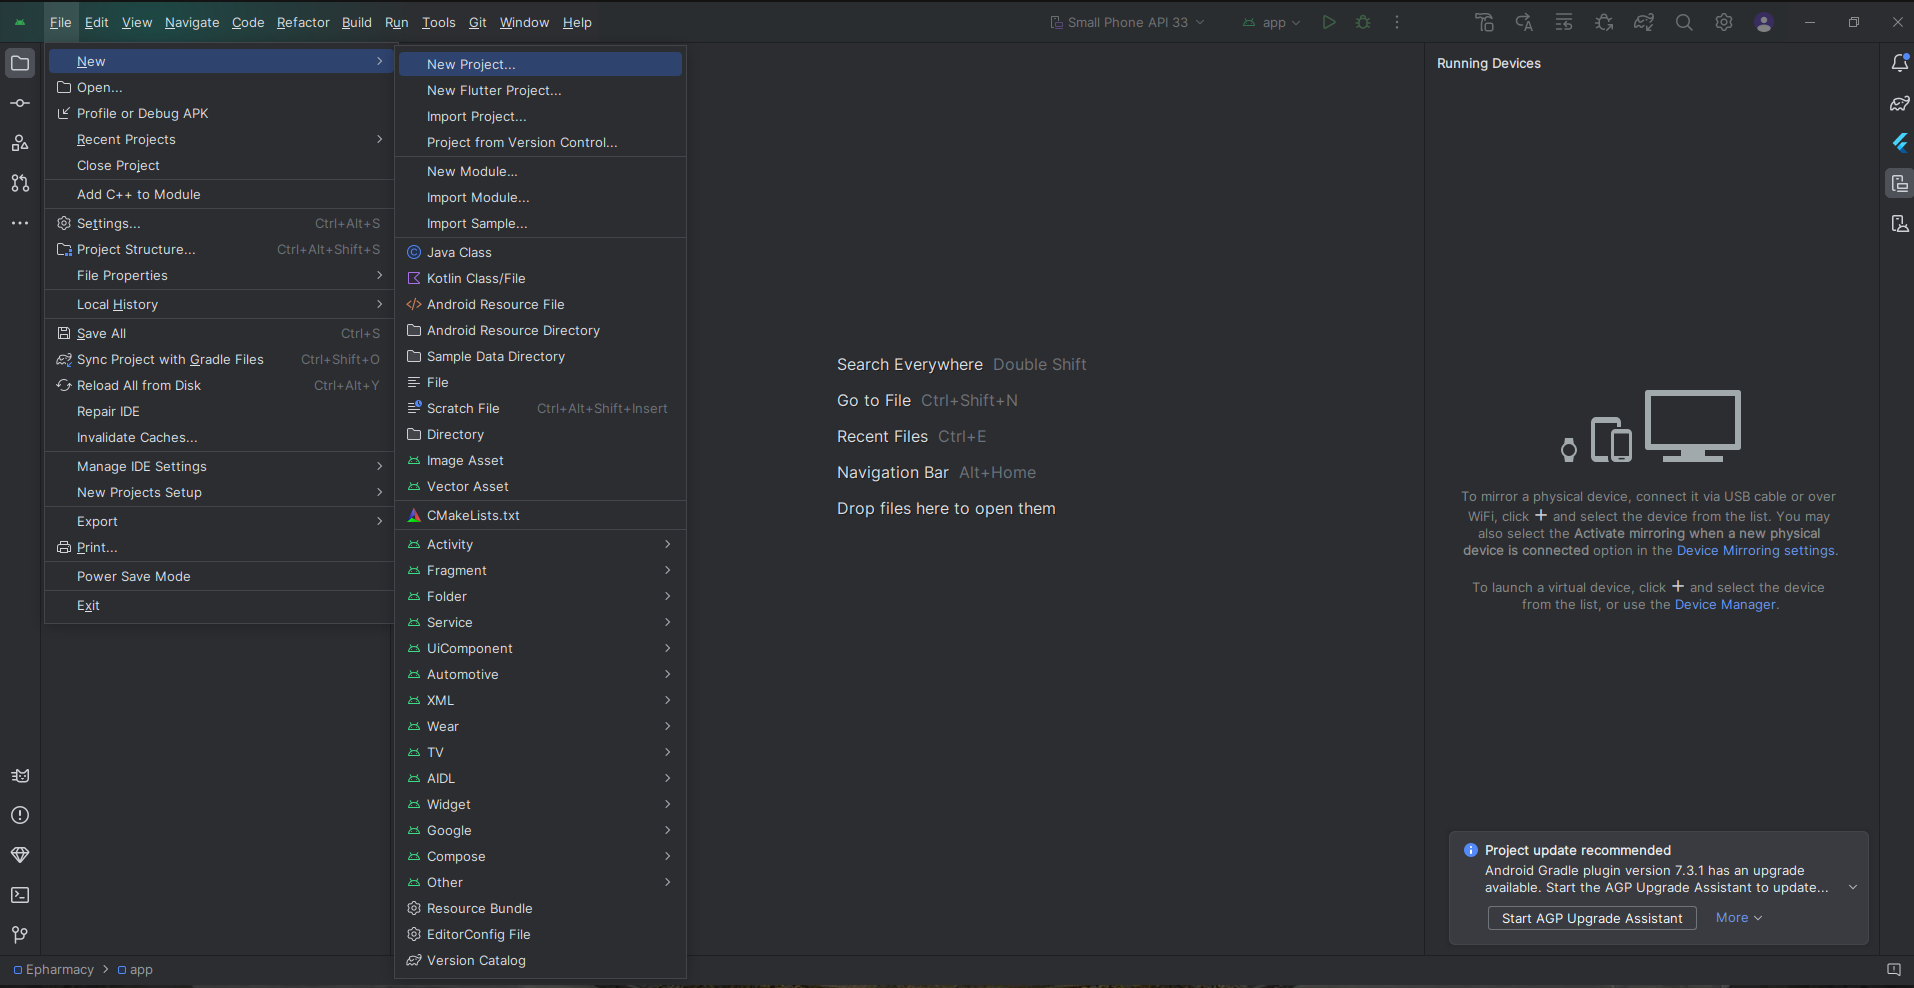
Step 1: To create a new project in Android you can use an already created project.


                                                                    or


Step 2: First connect on Firebase with your selected project.


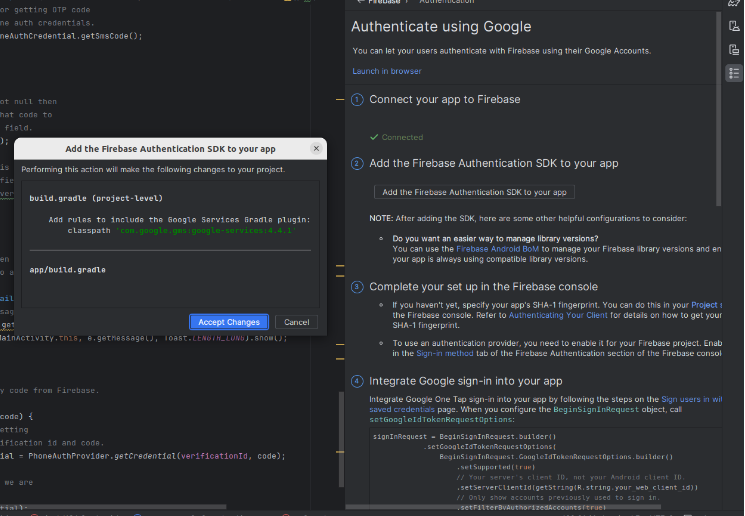
Step 3: Now click on Add the Firebase Authentication SDK to your app. Open dialog Accept Changes.


Step 4: Go to Firebase console  ->Build -> Authentication -> Now Enabled phone.
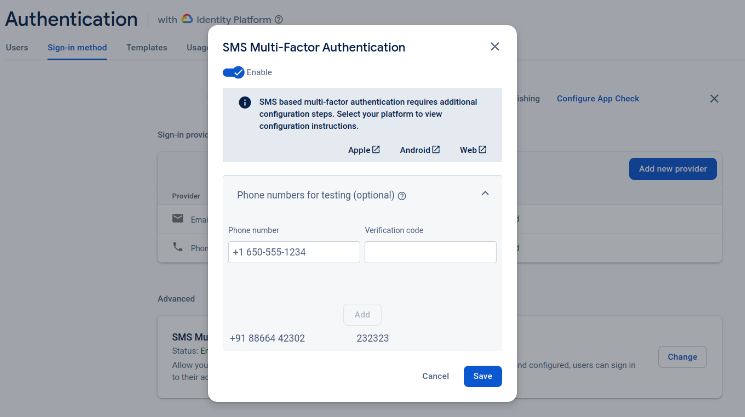


Step 5: Go to Firebase console  ->​Build -> Authentication -> SMS Multi-Factor Authentication.


Step 6: Add dependency of Firebase Authentication in the build.gradle file on Gradle scripts>Build.gradle app module and add the below dependencies.

 dependencies {

implementation (libs.play.services.gcm)

implementation (libs.androidx.browser)

implementation (libs.firebase.auth)

 }

Step 7: Add permission to the internet in app> Androidmanifest.xml file and below code.

<uses-permission android:name="android.permission.INTERNET" />

Step 8: Create an activity_main.xml file in the layout folder.


 <?xml version="1.0" encoding="utf-8"?>

 <RelativeLayout

xmlns:android="http://schemas.android.com/apk/res/android"

xmlns:tools="http://schemas.android.com/tools"

android:layout_width="match_parent"

android:layout_height="match_parent"

tools:context=".MainActivity">

 <!--Edittext for getting users phone number-->

 <EditText

android:id="@+id/idEdtPhoneNumber"

android:layout_width="match_parent"

android:layout_height="wrap_content"

android:layout_centerHorizontal="true"

android:layout_margin="10dp"

android:hint="Enter your phone"

android:importantForAutofill="no"

android:inputType="phone" />

 <!--Button for getting OTP-->

 <Button

android:id="@+id/idBtnGetOtp"

android:layout_width="match_parent"

android:layout_height="wrap_content"

android:layout_below="@id/idEdtPhoneNumber"

android:layout_margin="10dp"

android:id="@+id/idBtnGetOtp"

android:layout_width="match_parent"

android:layout_height="wrap_content"

android:layout_below="@id/idEdtPhoneNumber"

android:layout_margin="10dp"

android:text="Get OTP"

android:textAllCaps="false" />

 <!--Edittext for getting otp from user-->

 <EditText

android:id="@+id/idEdtOtp"

android:layout_width="match_parent"

android:layout_height="wrap_content"

android:layout_below="@id/idBtnGetOtp"

android:layout_margin="10dp"

android:hint="Enter OTP"

android:importantForAutofill="no"

android:inputType="phone" />

  <!--button for verifying user OTP-->

 <Button

android:id="@+id/idBtnVerify"

android:layout_width="match_parent"

android:layout_height="wrap_content"

android:layout_below="@id/idEdtOtp"

android:layout_margin="10dp"

android:text="Verify OTP"

android:textAllCaps="false" />

 </RelativeLayout>


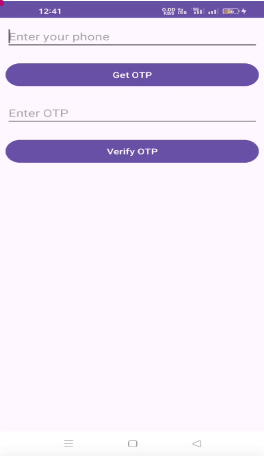
Step 10: Output of Firebase authentication.


Hence, we hope you now understand the above process and found this blog helpful. Now you are ready to add phone number authentication to your application. 

Happy coding!


365Bloggy May 7, 2024
Share this post
Tags
SUBSCRIBE THIS FORM


Archive