Horizontal List-Flutter

In Flutter there are types of lists: horizontal lists and vertical lists. Both these lists are created using list view and also set scroll direction parameters. By default scroll direction is vertical.List view work in data display on the Mobile application.


In this article, you will learn how to create your Horizontal widget in Flutter. So let’s take Horizontal​ list example of the Horizontal​ list  in Flutter of Mobile application.


Constructor of list view :


  ListView(
  {   Key key,
      Axis scrollDirection: Axis.vertical,
     bool reverse: false,
     ScrollController controller,
     bool primary,
     ScrollPhysics physics,
     bool shrinkWrap: false,
     EdgeInsetsGeometry padding,
     double itemExtent,
     bool addAutomaticKeepAlives: true,
     bool addRepaintBoundaries: true,
     bool addSemanticIndexes: true,
     double cacheExtent,
     List<Widget> children: const <Widget>[],
     int semanticChildCount, 
     DragStartBehavior dragStartBehavior:  

     DragStartBehavior.start,
     ScrollViewKeyboardDismissBehavior keyboardDismissBehavior:

     ScrollViewKeyboardDismissBehavior.manual,
     String restorationId,
     Clip clipBehavior: Clip.hardEdge}
   )

Step-by-Step Implementation


Step 1: Create a New Project in Android Studio (File >new flutter project). 

Step 2: Adding material package 

Import method the runApp method in the main function call first while run the application.  

 import 'package:flutter/material.dart';

 void main() {

     runApp(RunMyApp());

 }

Step 3: Creating a stateless widget  

We can create a stateless widget that contains MaterialApp widget,AppBar,etc.

 class RunMyApp extends StatelessWidget {

     const RunMyApp({super.key});  

    @override

    Widget build(BuildContext context) {

    return MaterialApp(home);

     }

 }

Step 4: Below code write a Listview in a Flutter.
 ListView(
scrollDirection: Axis.horizontal,
children: <Widget>[
Container(
height: 100.0,
width: 300.0,
shape: BoxShape.rectangle,
),
),
Container(
height: 100.0,
width: 300.0,
shape: BoxShape.rectangle,
),
),
Container(
height: 100.0,
width: 300.0,
shape: BoxShape.rectangle,
),
),
Container(
height: 100.0,
width: 300.0,
shape: BoxShape.rectangle,
),
),

],

)
Step 5: Final code of Listview widget.
 import 'package:flutter/cupertino.dart';
import 'package:flutter/material.dart';
void main() {
runApp(HorizontalList());
}
class HorizontalList extends StatelessWidget {
@override
Widget build(BuildContext context) {
final title = 'Horizontal List';
return MaterialApp(
title: title,
home: Scaffold(
appBar: AppBar(
title: Text(title),
backgroundColor: Colors.blue,
),
body: Container(
margin: EdgeInsets.symmetric(vertical: 20.0),
height: 550.0,
child: ListView(
scrollDirection: Axis.horizontal,
children: <Widget>[
Container(
height: 100.0,
width: 300.0,
decoration: BoxDecoration(
image: DecorationImage(
image: AssetImage(
'assets/images/company_logo.png'),

),
shape: BoxShape.rectangle,
),
),

Container(
height: 100.0,
width: 300.0,
decoration: BoxDecoration(
image: DecorationImage(
image: AssetImage(
'assets/images/company_logo.png'),

),
shape: BoxShape.rectangle,
),
),
Container(
height: 100.0,
width: 300.0,
decoration: BoxDecoration(
image: DecorationImage(
image: AssetImage(
'assets/images/company_logo.png'),

),
shape: BoxShape.rectangle,
),
),
Container(
height: 100.0,
width: 300.0,
decoration: BoxDecoration(
image: DecorationImage(
image: AssetImage(
'assets/images/company_logo.png'),

),
shape: BoxShape.rectangle,
),
),
],
),
),
),
);
}
}


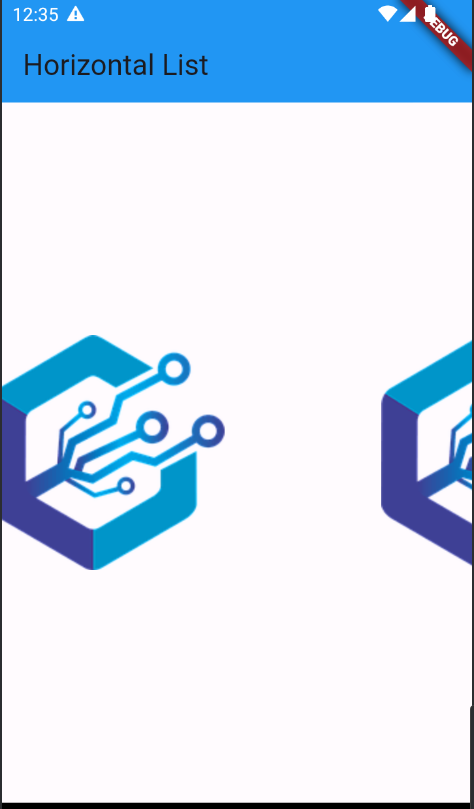
Step 6: Output of above example.


Happy coding!

365Bloggy June 19, 2024
Share this post
Tags
SUBSCRIBE THIS FORM


Archive