How to create a Stopwatch App using Android Studio

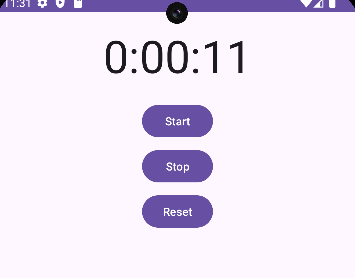
we can create a stopwatch or mobile application. The watch works for different applications like health, doctor, etc 

There are three button in application 

  • Start: To start the stopwatch
  • Stop:  To stop the stopwatch
  • Reset: To reset the stopwatch to 00:00:00

In this article, you will learn how to create your stopwatch activity in Android. So let’s take example of stopwatch activity codes  in Android of Mobile application

Example of stopwatch


Step-by-Step Implementation

 Step 1: Create a New Project in Android ​studio (File >new  project). 


Step 2: Create an activity_main.xml file in your layout folder . path (res>layout)

Implement the same in​voke the following code inside activity_main.xml file.

 <?xml version="1.0" encoding="utf-8"?>
<LinearLayout xmlns:android="http://schemas.android.com/apk/res/android"
android:layout_width="match_parent"
android:layout_height="match_parent"
android:orientation="vertical"
android:padding="16dp">

<TextView
android:id="@+id/time_view"
android:layout_width="wrap_content"
android:layout_height="wrap_content"
android:layout_gravity="center_horizontal"
android:textAppearance="@android:style/TextAppearance.Large"
android:textSize="56sp" />

<Button
android:id="@+id/start_button"
android:layout_width="wrap_content"
android:layout_height="wrap_content"
android:layout_gravity="center_horizontal"
android:layout_marginTop="20dp"
android:onClick="onClickStart"
android:text="@string/start" />

<Button
android:id="@+id/stop_button"
android:layout_width="wrap_content"
android:layout_height="wrap_content"
android:layout_gravity="center_horizontal"
android:layout_marginTop="8dp"
android:onClick="onClickStop"
android:text="@string/stop" />

<Button
android:id="@+id/reset_button"
android:layout_width="wrap_content"
android:layout_height="wrap_content"
android:layout_gravity="center_horizontal"
android:layout_marginTop="8dp"
android:onClick="onClickReset"
android:text="@string/reset" />
</LinearLayout>
 Step 3: Create an MainActivity.kt file in your package folder .

Implement the same invoke the fol​low​ing code inside MainActivity.kt file

 import android.annotation.SuppressLint
import android.os.Bundle
import android.view.View
import android.widget.TextView
import androidx.appcompat.app.AppCompatActivity
import java.util.Locale


class MainActivity : AppCompatActivity() {
private var seconds = 0
private var running = false
private var wasRunning = false

@SuppressLint("MissingInflatedId")
override fun onCreate(savedInstanceState: Bundle?) {
super.onCreate(savedInstanceState)
setContentView(R.layout.activity_main)
if (savedInstanceState != null) {

seconds= savedInstanceState
.getInt("seconds")
running= savedInstanceState
.getBoolean("running")
wasRunning= savedInstanceState
.getBoolean("wasRunning")
}
runTimer()

}

private fun runTimer() {
val timeView = findViewById<View>(
R.id.time_view
) as TextView

val handler
: android.os.Handler = android.os.Handler()

handler.post(object : Runnable {
override fun run() {
val hours = seconds / 3600
val minutes = (seconds % 3600) / 60
val secs = seconds % 60
val time = String.format(
Locale.getDefault(),
"%d:%02d:%02d", hours,
minutes, secs
)

timeView.text = time
if (running) {
seconds++
}
handler.postDelayed(this, 1000)
}
})
}

public override fun onSaveInstanceState(
savedInstanceState: Bundle
) {
super.onSaveInstanceState(savedInstanceState)
savedInstanceState
.putInt("seconds", seconds)
savedInstanceState
.putBoolean("running", running)
savedInstanceState
.putBoolean("wasRunning", wasRunning)
}
override fun onPause() {
super.onPause()
wasRunning = running
running = false
}
override fun onResume() {
super.onResume()
if (wasRunning) {
running = true
}
}
fun onClickStart(view: View?) {
running = true
}
fun onClickStop(view: View?) {
running = false
}
fun onClickReset(view: View?) {
running = false
seconds = 0
}
}

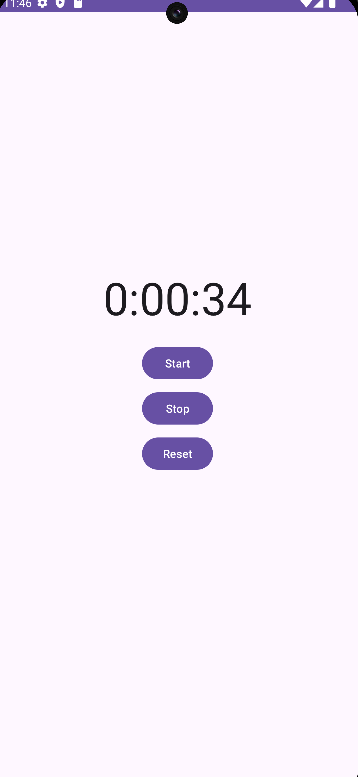
Step 4 : Output of above example.


                 Happy coding!

365Bloggy July 19, 2024
Share this post
Tags
SUBSCRIBE THIS FORM


Archive