How to Implement TextSwitcher in Android?

TextSwitcher in Android can be extremely handy for displaying texts in a dynamic style. TextSwitcher is similar to ViewSwitcher but has its own set of features. Its offspring are only of the TextView type. TextSwitcher allows us to create transitions on the labels. Hence, it is an element of the transition widget. When the setText method is invoked, TextSwitcher swiftly animates the current text out and the new text in. This procedure can be performed using either a single or several buttons.

In this article, you will learn how to create your TextSwitcher activity in Android. So let’s take example of TextSwitcher activity codes  in Android of Mobile application

Step-by-Step Implementation

 Step 1: Create a New Project in Android ​studio (File >new  project). 


Step 2: Create an activity_main.xml file in your layout folder . path (res>layout)

Implement the same in​voke the following code inside activity_main.xml file.

 <?xml version="1.0" encoding="utf-8"?>
<androidx.constraintlayout.widget.ConstraintLayout
xmlns:android="http://schemas.android.com/apk/res/android"
xmlns:app="http://schemas.android.com/apk/res-auto"
xmlns:tools="http://schemas.android.com/tools"
android:layout_width="match_parent"
android:layout_height="match_parent"
tools:context=".MainActivity">
<TextSwitcher
android:id="@+id/textSwitcher"
android:layout_width="match_parent"
android:layout_height="wrap_content"
android:layout_marginTop="80dp"
android:inAnimation="@anim/slide_in_right"
android:outAnimation="@anim/slide_out_left"/>

<Button
android:id="@+id/button"
android:layout_width="wrap_content"
android:layout_height="wrap_content"
android:text="Next"
android:layout_centerHorizontal="true"
android:layout_centerVertical="true"/>
</androidx.constraintlayout.widget.ConstraintLayout>
 Step 3: Create an MainActivity.kt file in your package folder .

Implement the same invoke the fol​low​ing code inside MainActivity.kt file

 import android.annotation.SuppressLint
import android.graphics.Color
import android.os.Bundle
import android.view.Gravity
import android.widget.Button
import android.widget.TextSwitcher
import android.widget.TextView
import androidx.appcompat.app.AppCompatActivity

class MainActivity : AppCompatActivity() {
private lateinit var textSwitcher: TextSwitcher
private lateinit var nextButton: Button
private var stringIndex = 0
private val row = arrayOf("Hi!", "Welcome", "to", "How", "are", "your")
private lateinit var textView: TextView
@SuppressLint("MissingInflatedId")
override fun onCreate(savedInstanceState: Bundle?) {
super.onCreate(savedInstanceState)
setContentView(R.layout.activity_main)
textSwitcher = findViewById(R.id.textSwitcher)
nextButton = findViewById(R.id.button)

nextButton.setOnClickListener {
if (stringIndex == row.size - 1) {
stringIndex = 0
textSwitcher.setText(row[stringIndex])
} else {
textSwitcher.setText(row[++stringIndex])
}
}

textSwitcher.setFactory {
textView = TextView(this)
textView.textSize = 60f
textView.gravity = Gravity.CENTER_HORIZONTAL
textView.setTextColor(Color.parseColor("#2734BA"))
textView
}
textSwitcher.setText(row[stringIndex])

}
}

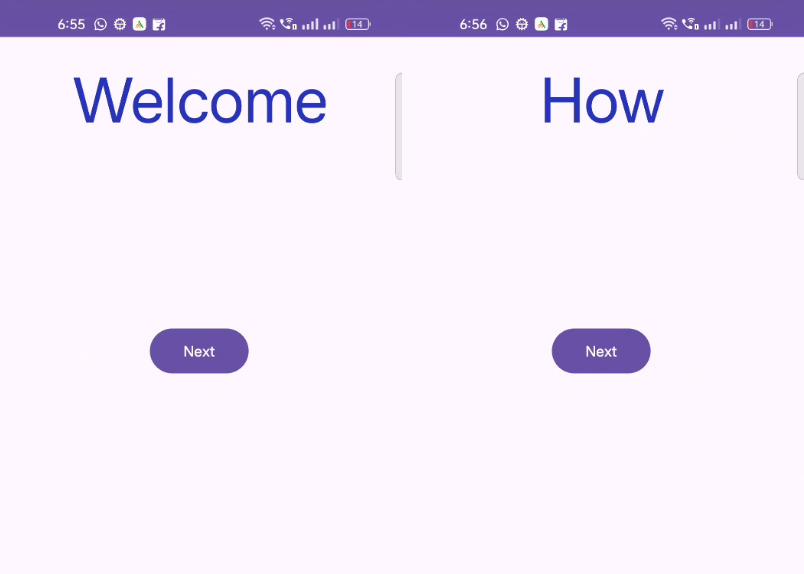
Step 4 : Output of above example.


Happy coding!

365Bloggy July 18, 2024
Share this post
Tags
SUBSCRIBE THIS FORM


Archive