How to Restart Activity in Android?

An Activity in Android is that element of the application that provides a platform for drawing UI elements. Activity, in general, occupies the entire screen but may not always fill the entire screen. MainActivity is the first activity that is created when a project is created. However, activities can be created later and set as the first activity via configuring the manifest file. In this article, we will show you how you could restart activity in Android. The idea of the project is to restart the activity and to observe it, by generating a random number.

In this article, you will learn how to create your Restart activity in Android. So let’s take example of Restart activity codes  in Android of Mobile application. 

Example of Activity restart


Step-by-Step Implementation

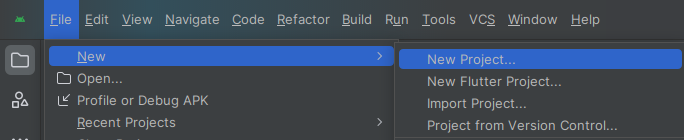
 Step 1: Create a New Project in Android ​studio (File >new  project). 


Step 2: Create an activity_main.xml file in your layout folder . path (res>layout)

Implement the same in​voke the following code inside activity_main.xml file. 

 <?xml version="1.0" encoding="utf-8"?>
<androidx.constraintlayout.widget.ConstraintLayout
xmlns:android="http://schemas.android.com/apk/res/android"
xmlns:app="http://schemas.android.com/apk/res-auto"
xmlns:tools="http://schemas.android.com/tools"
android:layout_width="match_parent"
android:layout_height="match_parent"
tools:context=".MainActivity">

<TextView
android:id="@+id/text_view_1"
android:layout_width="wrap_content"
android:layout_height="wrap_content"
android:layout_marginTop="284dp"
android:gravity="center"
android:text="00"
android:textSize="30sp"
app:layout_constraintEnd_toEndOf="parent"
app:layout_constraintHorizontal_bias="0.575"
app:layout_constraintStart_toStartOf="parent"
app:layout_constraintTop_toTopOf="parent" />

<Button
android:id="@+id/button_1"
android:layout_width="wrap_content"
android:layout_height="wrap_content"
android:layout_centerInParent="true"
android:layout_marginTop="340dp"
android:text="restart"
app:layout_constraintEnd_toEndOf="parent"
app:layout_constraintHorizontal_bias="0.587"
app:layout_constraintStart_toStartOf="parent"
app:layout_constraintTop_toTopOf="parent" />

</androidx.constraintlayout.widget.ConstraintLayout>
Step 3: Create an MainActivity.kt file in your package folder .

Implement the same invoke the fol​lowing code inside MainActivity.kt file.

 import android.annotation.SuppressLint
import android.os.Bundle
import android.widget.Button
import android.widget.TextView
import androidx.appcompat.app.AppCompatActivity

class MainActivity : AppCompatActivity() {

@SuppressLint("MissingInflatedId")
override fun onCreate(savedInstanceState: Bundle?) {
super.onCreate(savedInstanceState)
setContentView(R.layout.activity_main)
val mTextView = findViewById<TextView>(R.id.text_view_1)
val mButton = findViewById<Button>(R.id.button_1)
val rnds = (0..10).random()
mTextView.text = rnds.toString()

mButton.setOnClickListener {
val mIntent = intent
finish()
startActivity(mIntent)
}
}
}

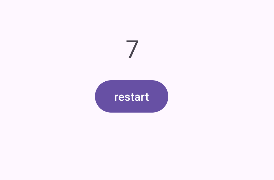
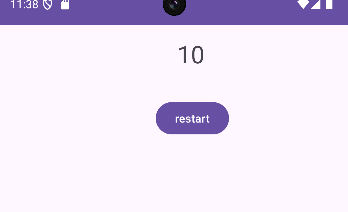
Step 4 : Output of above example.


      Happy coding!                                 

365Bloggy July 18, 2024
Share this post
Tags
SUBSCRIBE THIS FORM


Archive