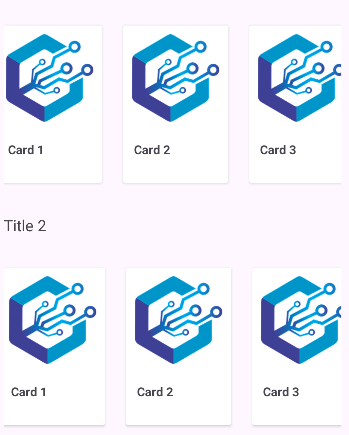
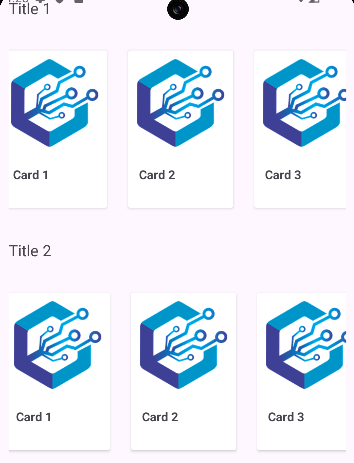
A nested RecyclerView implements a RecyclerView within a RecyclerView. A variety of apps, including the Play Store, use such a structure, with the outer (parent) RecyclerView being vertical and the inner (child) RecyclerViews being horizontal.
In this article, you will learn how to create your nested RecyclerView Example of nested RecyclerView in Android. So let’s take example of nested RecyclerView activity codes in Android of Mobile application.
Example of nested RecyclerView

Step-by-Step Implementation
Step 1: Create a New Project in Android studio (File >new project).

Step 2: Create an childItemAdapter.java file in your layout folder
Implement the same invoke the following code inside childItemAdapter.java file.
Step 3: Create an child_item.xml file in your layout folder . path (res>layout)
Implement the same invoke the following code inside child_item.xml file.
Step 4: Create an ParentItemAdapter.java file in your layout folder
Implement the same invoke the following code inside ParentItemAdapter.java file.
Step 5: Create an parent_item.xml file in your layout folder . path (res>layout)
Implement the same invoke the following code inside parent_item.xml file.
Step 6: Create an childItem.java file in your layout folder
Implement the same invoke the following code inside childItem.java file.
Step 7: Create an ParentItem.java file in your layout folder
Implement the same invoke the following code inside ParentItem.java file.
Step 8: Create an MainActivity.java file in your layout folder
Implement the same invoke the following code inside MainActivity.java file.
Step 9 : Output of above example.
 Happy coding!