Skeleton Text - Flutter

The skeleton_text package in Flutter makes it simple to create skeleton text loading animations. Its primary usage in a Flutter app is to inform consumers that although the servers are operating slowly, the content will ultimately load. Also, if the user connection is sluggish, it improves the user interface.

By creating a basic butterfly application, we will examine how to add the skeleton text to an application in this tutorial of Mobile application.

Syntax of Skeleton 

  SkeletonAnimation(
child: Container(
height: 15,
width:
MediaQuery.of(context).size.width * 0.6,
decoration: BoxDecoration(
borderRadius: BorderRadius.circular(10.0),
color: Colors.grey[300]),
),
)


Step-by-Step Implementation


Step 1: Create a New Project in Android Studio (File >new flutter project). 


Step 2: Adding dependency in project 
 dependencies:
flutter:
sdk: flutter
skeleton_text: ^3.0.1
Step 3: Adding material package 

Import method the runApp method in the main function call first while run the application.

 import 'package:flutter/material.dart';

 void main() {

     runApp(RunMyApp());

 }

Step 4: Creating a stateless widget 

We can create a stateless widget that contains MaterialApp widget,AppBar,etc.

 class RunMyApp extends StatelessWidget {

     const RunMyApp({super.key});  

    @override

    Widget build(BuildContext context) {

    return MaterialApp(home);

     }

 }

Step 5: Final code of Skeleton widget.
 import 'package:flutter/material.dart';
import 'package:skeleton_text/skeleton_text.dart';

void main() {
runApp(Skeleton());
}

class Skeleton extends StatelessWidget {
@override
Widget build(BuildContext context) {
return MaterialApp(
title: 'Skeleton Text',
theme: ThemeData(
primarySwatch: Colors.blue,
),
home: Scaffold(
appBar: AppBar(
title: Text("CandidRoot Solutions"),
backgroundColor: Colors.blue,
),
// list of items in body
body: ListView.builder(
scrollDirection: Axis.vertical,
physics: BouncingScrollPhysics(),
itemCount: 15,
itemBuilder: (BuildContext context, int index) {
return Padding(
padding: const EdgeInsets.all(8.0),
child: Container(
decoration: BoxDecoration(
borderRadius: BorderRadius.all(Radius.circular(10.0)),
color: Colors.white70),
child: Container(
child: Row(
crossAxisAlignment: CrossAxisAlignment.center,
mainAxisSize: MainAxisSize.max,
mainAxisAlignment: MainAxisAlignment.start,
children: <Widget>[
SkeletonAnimation(
child: Container(
width: 70.0,
height: 70.0,
decoration: BoxDecoration(
color: Colors.grey[300],
),
),
),
Column(
mainAxisAlignment: MainAxisAlignment.spaceEvenly,
crossAxisAlignment: CrossAxisAlignment.start,
mainAxisSize: MainAxisSize.max,
children: <Widget>[
Padding(
padding: const EdgeInsets.only(
left: 15.0, bottom: 5.0),
child: SkeletonAnimation(
child: Container(
height: 15,
width:
MediaQuery.of(context).size.width * 0.6,
decoration: BoxDecoration(
borderRadius: BorderRadius.circular(10.0),
color: Colors.grey[300]),
),
),
),
Padding(
padding: const EdgeInsets.only(left: 15.0),
child: Padding(
padding: const EdgeInsets.only(right: 5.0),
child: SkeletonAnimation(
child: Container(
width: 60,
height: 13,
decoration: BoxDecoration(
borderRadius:
BorderRadius.circular(10.0),
color: Colors.grey[300]),
),
),
),
),
],
),
],
),
),
),
);
}),
),
);
}
}


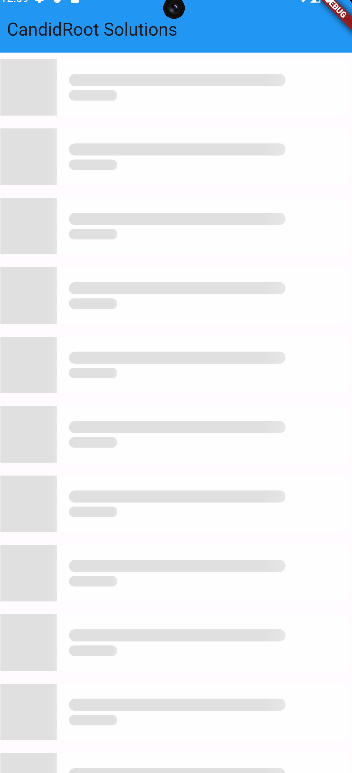
Step 5:Output of above example.


Happy coding!

365Bloggy June 20, 2024
Share this post
Tags
SUBSCRIBE THIS FORM


Archive